Friday, 10 May 2013
FINAL MUSIC VIDEO
The file of our music video was far too big to upload on to this blog and external sites such as YouTube would not allow it to be viewed so,we have had to put our video on to a disk.


Wednesday, 8 May 2013
Evaluation Question 4
How did you use media technologies in the construction and research, planning and evaluating stages?
Evaluation Question 3
What have you learned from your audience feedback?
We decided we needed feedback to see how we could
improve our video so we got someone to give us this feed back. Below is the
video of the person giving us the feedback.
ANSWER:
Evaluation Question 2
How effective is the combination of your main product
and ancillary texts?
I have created a Prezi presentation that i have not
managed to incorporate into my blogger so below is a link to it.
Evaluation Question 1
In what ways does your media product use, develop or
challenge forms and conventions of real media products?
Below is a link to my PowerPoint for the
Evaluation Question 1, I had trouble getting the actual Powerpoint onto here
and this was the best I could do.
35) Production - Our Behind The Scenes Footage
I couldn't actually upload this to my blog so here is the link to the video on YouTube.
http://www.youtube.com/watch?v=9Nbgkv8DVyo&feature=youtu.be
http://www.youtube.com/watch?v=9Nbgkv8DVyo&feature=youtu.be
34) Production - The Making of The Poster
To make our poster we used Adobe Photoshop. I used a still from one of the video clips as Holly had a dreamy looking pose which would work really well for a promotional poster. I decided to use the same image as what is used for the digipak as it would show people that it's part of the same set and will make people remember it so this worked really well.

After we added text and changed the saturation to make it stand out more and keep the same text that was on the digipak.
We thought that maybe black and white would be a good idea to change things around a little bit and experiment with what we could create.

After doing this we realised that it looked much better in colour as it would keep with the official designs we had and would match all the other promotions so we decided this would be best.

So after making lots of changes, this is our final poster and we can all agree that we are very happy with our product.

33) Research - Poster Ideas
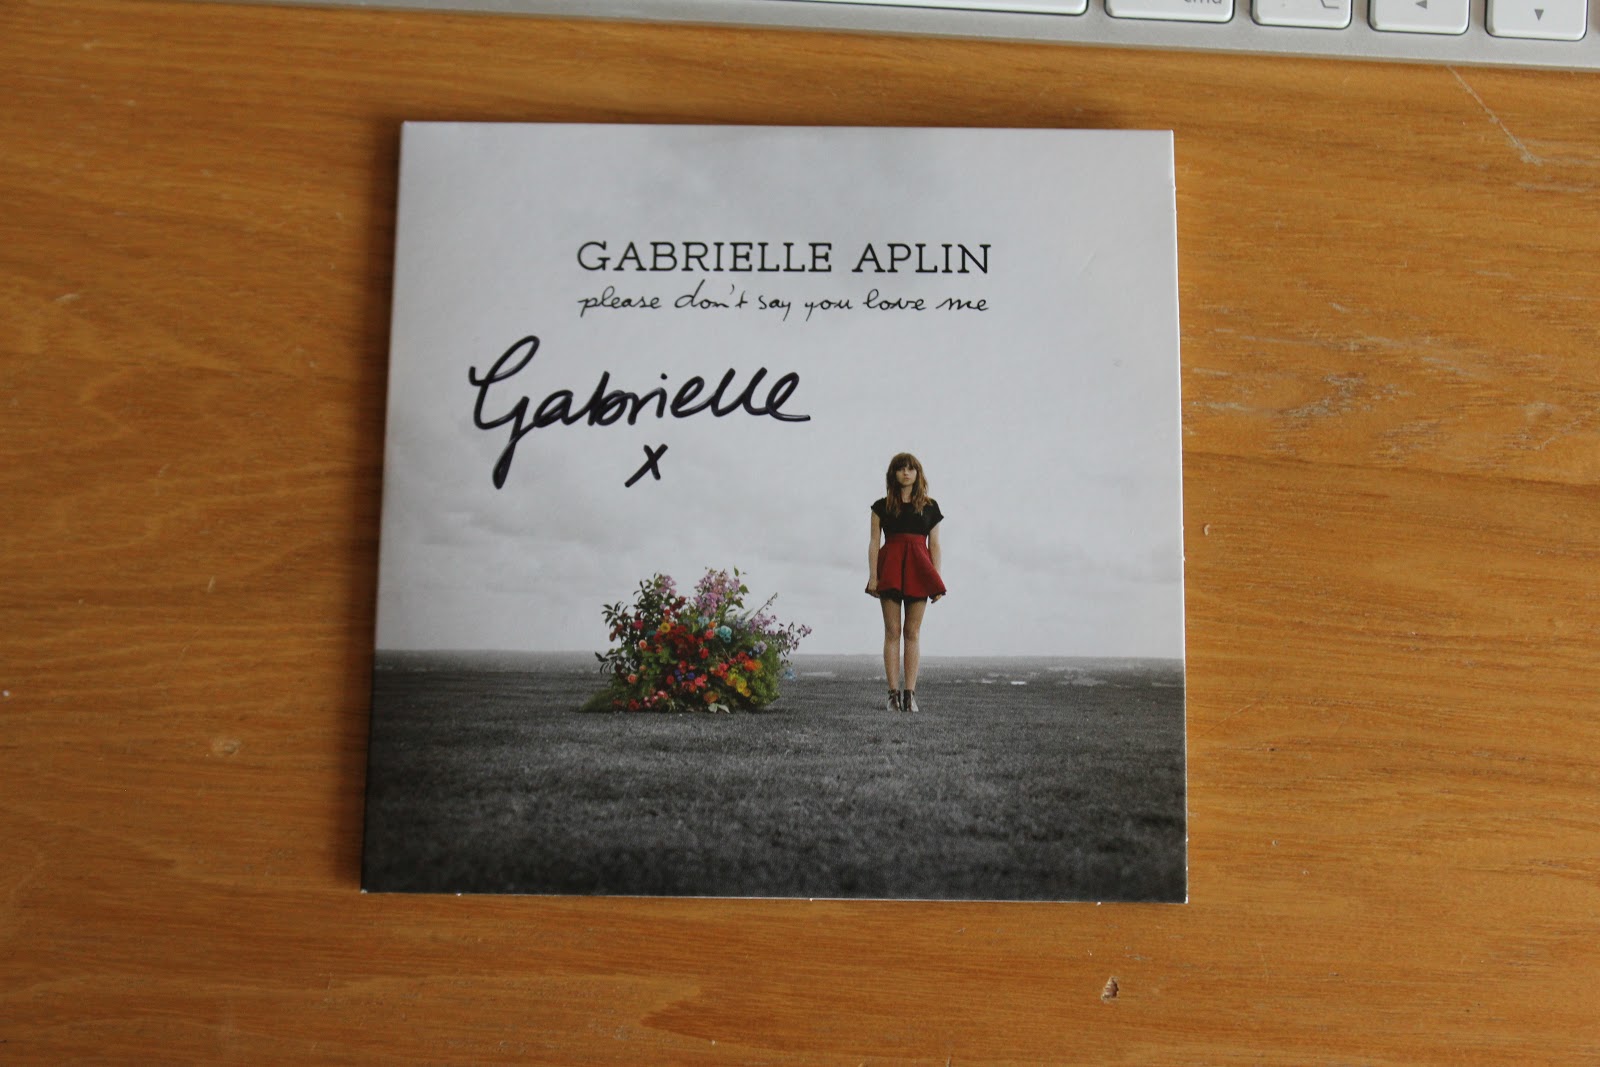
Whilst in London after seeing Gabrielle Aplin, I managed to find her poster in the underground tube station.
This was a great inspiration and really gave our group an insight of what we need to do for the design of our poster.
We noticed that she used the same image for her poster as the one for her CD. We decided to do the same thing as not only would it save us a lot of time, but it also keeps the theme of our product and makes people recognise it.
Poster on the underground:

Her CD with the original image:


Final, Final, Final Shoot Reschedule
on Wednesday we just about managed to film everything but there were still lots of problems (of course).
We booked the school hall but under the agreement that we had to leave by 7 as others needed to use the hall. I was very worried about this unlike the others because I knew how much time the setting up of this scene would take, still I listened to the others and went along anyway as we under extreme pressure to get this done, regardless of the standard.
Unfortunately we were very pushed for time and ended up having to pack up before I got all the shots I wanted too.
In the end the hall wasn't even being used so we were asked to leaver for no reason but these things do happen and you have to make the best of a bad situation.
Hopefully the footage we managed to get will look great and the editing process will be less disastrous !!!
32) Production - The Making of our Digipak
When I first looks at making the digipak, I accidentally ended making something more like a CD.
We soon realised this was completely wrong and I then re-designed everything and did a lot more research into how to actually construct the digipak.
Here is the process of our failed attempt:


The making of our digipak wen't much better after we realised wat we were doing wrong.
I used the template margins to ensure there was enough room to bend, fold and correctly scor the card correctly to bend into place.
My updated design in photoshop:

Here are some photographs showing the process of me making the updated digipak:


After all the issues we had I'm very pleased with the outcome of the digipak as it looks very professional and almost like a real digipak.
31) Research - Digipak Template

Here is a template for the design of our digipak. This is extremely helpful and insightful for what we need to create.
This makes it easier to see what we actually need to design and make without any complications so this will make our job much easier of making this.
If we open this template into photoshop we will be able to design our digipak cover around this template to make sure we have the right measurements to make this to scale.
28) Production - Final Shoot Rescheduled
The shoot we had planned to rescheduled had to be cancelled again as Holly became unexpectedly unwell. We needed to remember that these things happen and it's unfortunate. Unfortunately this means we will once again have to reschedule this shoot again which is causing a lot of pressure for our group.
Next time we went to do the shoot it turns out that the school hall had been overbooked. This meant we couldn't use the hall and any other spaces in school weren't available. This was very frustrating for us as we needed to get this done and lugging all the equipment via my parents car was getting very annoying.
Luckily we booked the hall for the following week so hopefully we can finish the shoot in one night without anymore disasters!
30) Research - Examples of Digipaks
Here are our inspirations for making our digipak.
As you can see they have a pretty simple set up and consist of cardboard and a plastic insert to hold the CD carefully.
We will need to make sure we use this technique in our own digipak to make it just as good as these ones.


29) Research - DigiPak
As we have to make a digipak for our song, our group decided
to do some research. We used http://en.wikipedia.org/wiki/Digipak
to find out about digipaks and see what we had to try and create this was very
difficult to visualise.
These seemed to be used for singles or special editions of different albums so we really need to make ours stand out and look special.
These seemed to be used for singles or special editions of different albums so we really need to make ours stand out and look special.
Subscribe to:
Comments (Atom)